Integrations (QSC)
About the Integrations Page
You can integrate Qualtrics Social Connect with a lot of common customer relationship management (CRM) systems. The functionality included with each of these integrations varies, but the most common benefit is that you can link users in your CRM to Qualtrics Social Connect. As an added bonus, you can also create a custom contacts integration.
Connecting Integrations
- Click the profile icon.
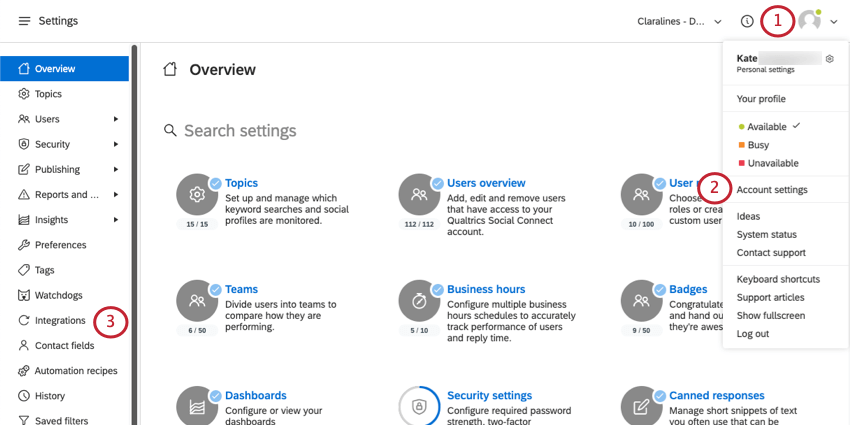
- Select Account settings.
- Select Integrations.
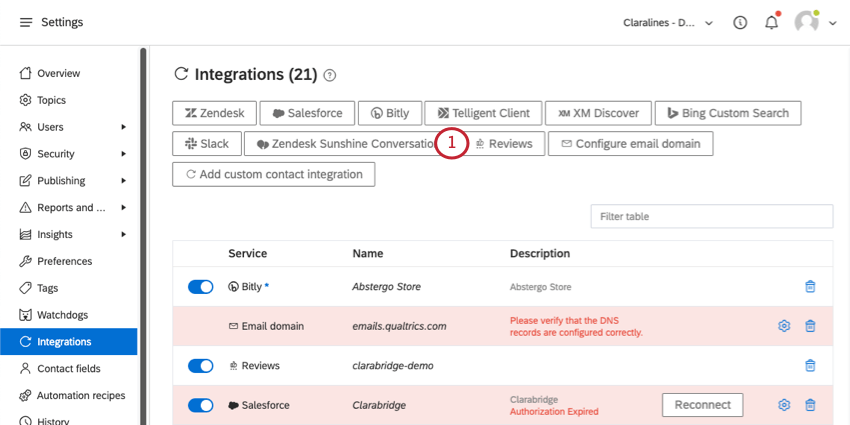
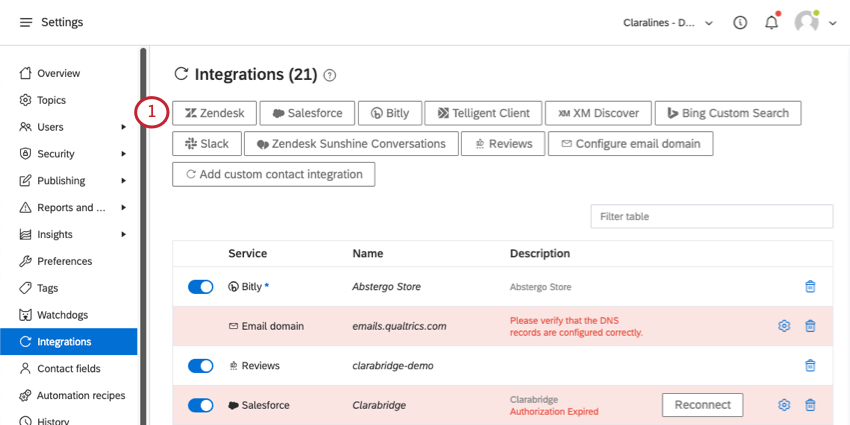
- Choose one of the following integrations:
- Zendesk
- Salesforce
- Bitly
- Telligent Client
- XM Discover
- Bing Custom Search
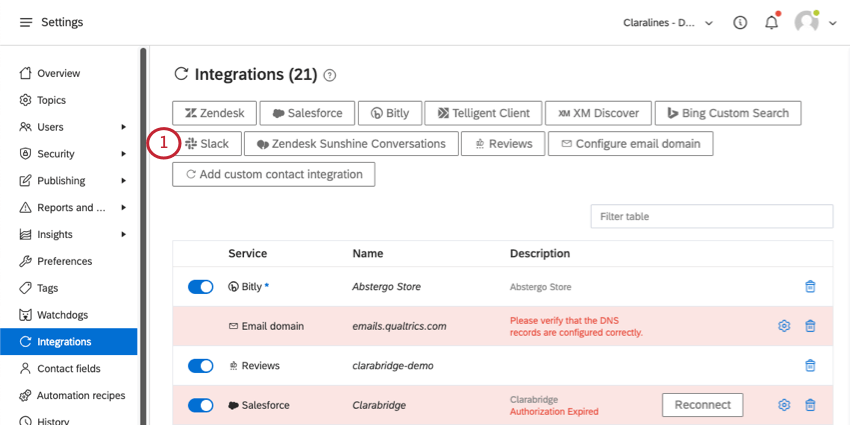
- Slack
- Zendesk Sunshine Conversations
- Reviews
- Configure email domain
- Add custom contact integration
Zendesk
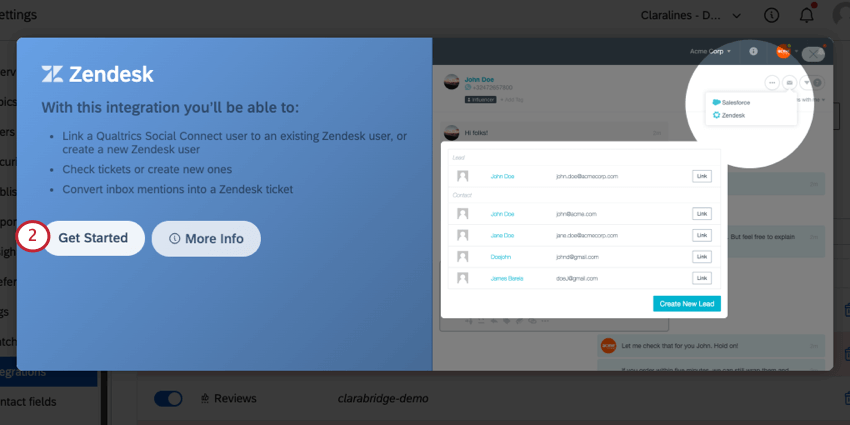
By connecting Zendesk to Social Connect, you can:
- Link a Qualtrics Social Connect user to an existing Zendesk user, or create a new Zendesk user.
- Check tickets or create new ones.
- Convert inbox mentions into Zendesk tickets.
To set up your Zendesk integration:
- Click Zendesk.
- Select Get Started.
- Under Domain, add your Zendesk subdomain.
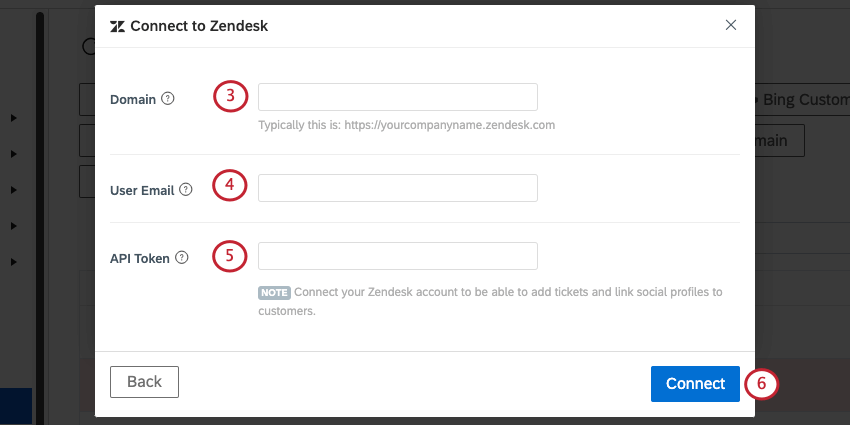 Example: Typically this is something like https://yourcompanyname.zendesk.com. See Zendesk support for help locating this.
 - Under User Email, add the email address you use to log into Zendesk.
- Add an API Token.
Qtip: See Zendesk’s documentation for help generating an API token.
- When you’re finished, click Connect.
Salesforce
By connecting Salesforce to Social Connect, you can:
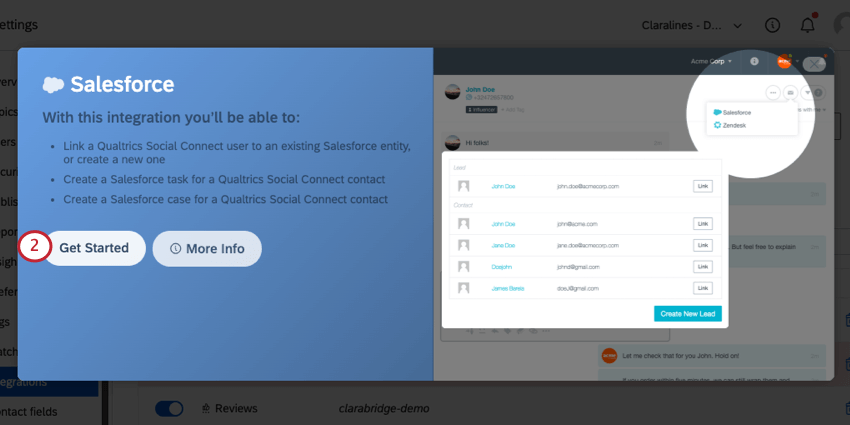
- Link a Qualtrics Social Connect user to an existing Salesforce entity, or create a new one.
- Create a Salesforce task or case for a Qualtrics Social Connect contact.
To set up your Salesforce integration:
- Click Salesforce.
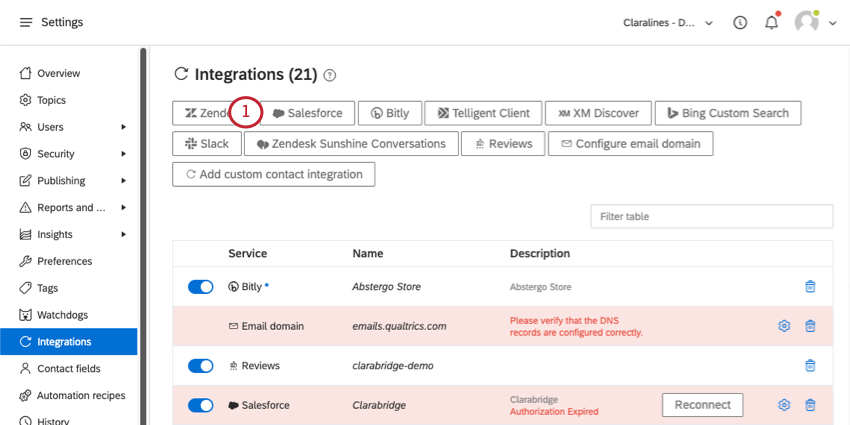
- Select Get Started.
- Add your Salesforce username.
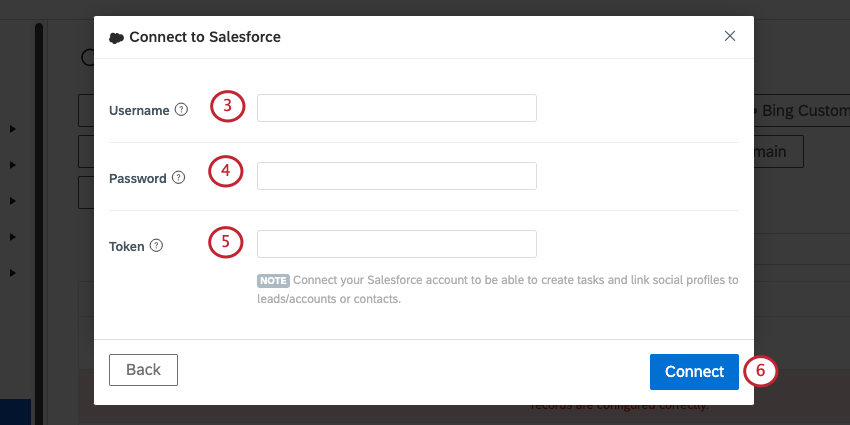
- Add your Salesforce password.
- Under Token, add a security token.
Qtip: For more information, see Salesforce’s documentation.
- When you’re finished, click Connect.
Bitly
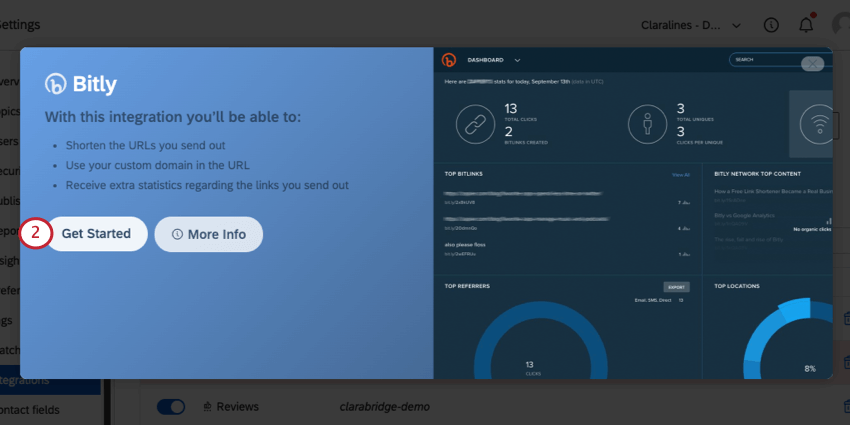
By connecting Bitly to Social Connect, you can:
- Shorten the URLs you send through the inbox.
- Use your custom domain in the shortened URL.
- Track analytics on your links.
To connect Bitly to Social Connect:
- Select Bitly.
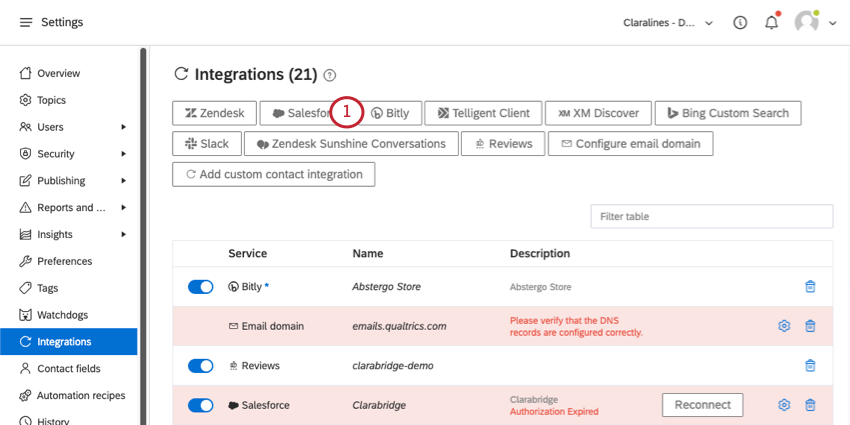
- Click Get Started.
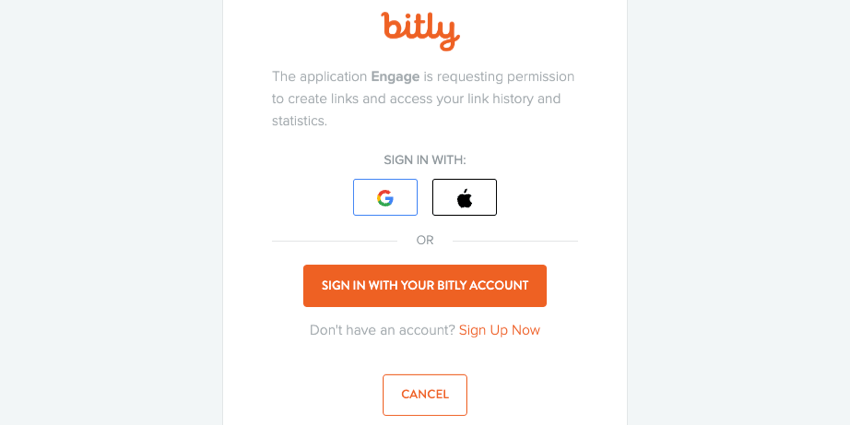
- Log into your Bitly account.
- Now go to your Personal Settings and enable Shorten URLs with Bitly.
Slack
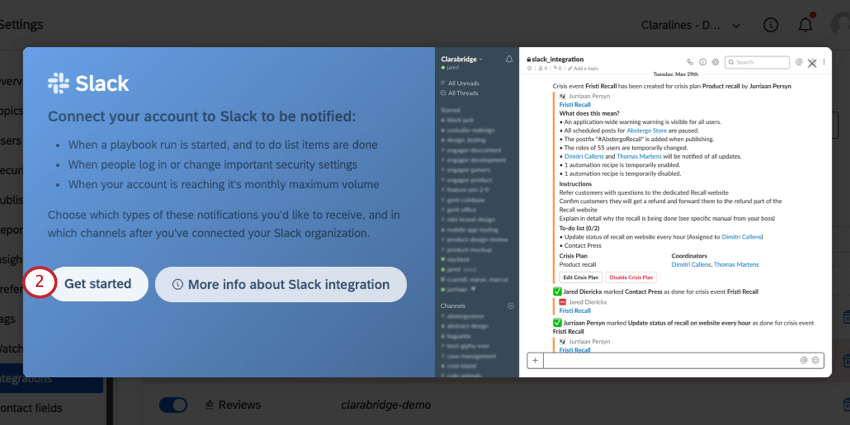
By connecting to Slack, you can get notified whenever the following happens in Social Connect:
- A playbook run is started, or to-do list items are done.
- Your account is approaching its monthly maximum volume.
- Users log in or change important security settings.
- A Watchdog notification is sent.
- There’s a change in your account’s history log.
After you’ve connected your organization’s Slack workspace, you can choose which of these notifications you’d like to receive, and in which channels.
- Select Slack.
- Click Get Started.
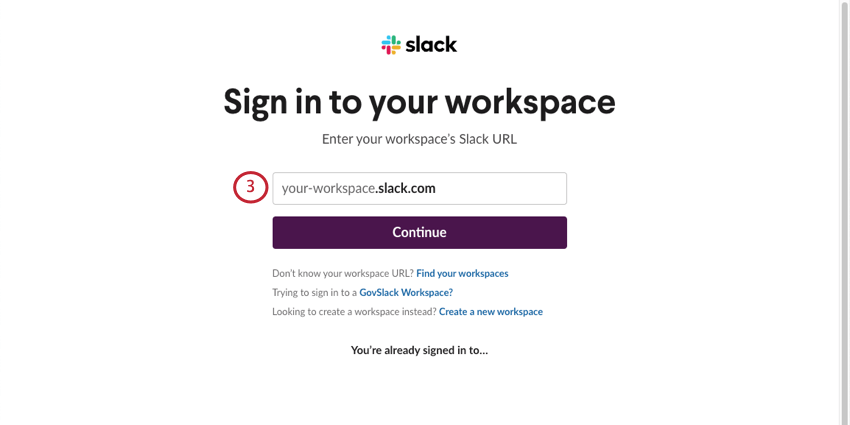
- Log into your Slack workspace. Your workspace is usually the name of your company.
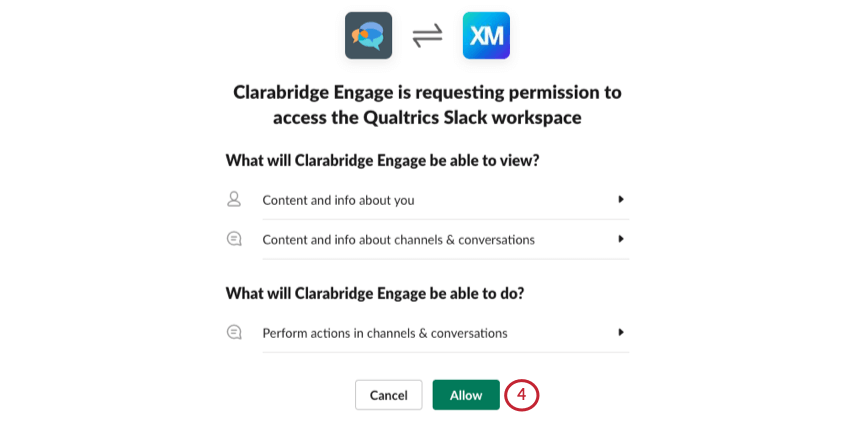
- Click Allow.
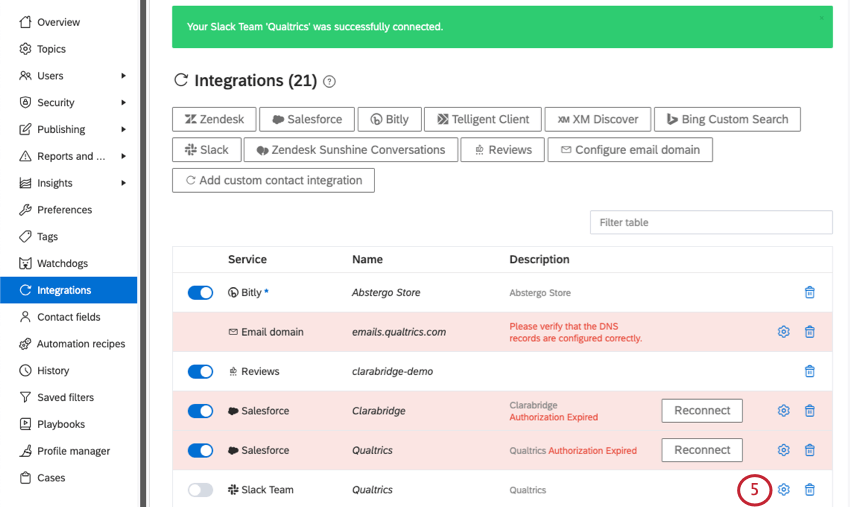
- Your Slack connection has been created. Click the gear next to it.
- Select the Slack channel you want these notifications to be sent to. The types are:
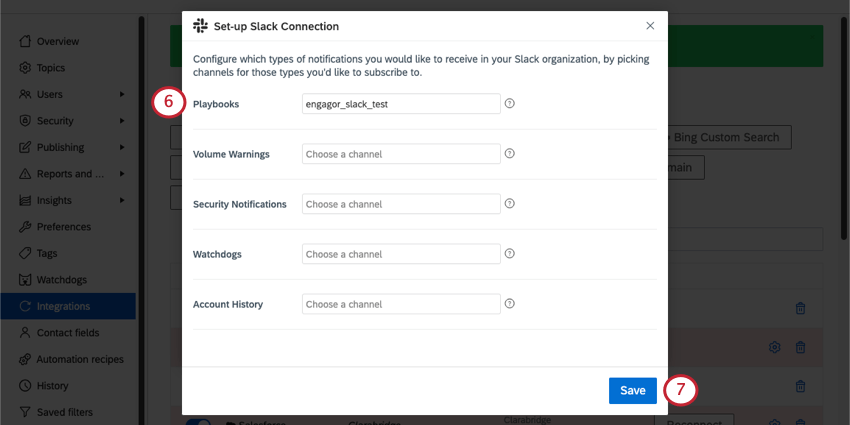
- Playbooks: A playbook run is started, or to-do list items are done.
- Volume Warnings: Your account is approaching its monthly maximum volume.
- Security Notifications: Users log in or change important security settings.
- Watchdogs: A watchdog notification is sent.
- Account History: There’s a change in your account’s history log.
- When you’re finished, click Save.
Zendesk Sunshine Conversations
Zendesk Sunshine Conversations connects Qualtrics Social Connect to messaging channels like WhatsApp, Live Chat, WeChat, and SMS (text messaging).
Reviews
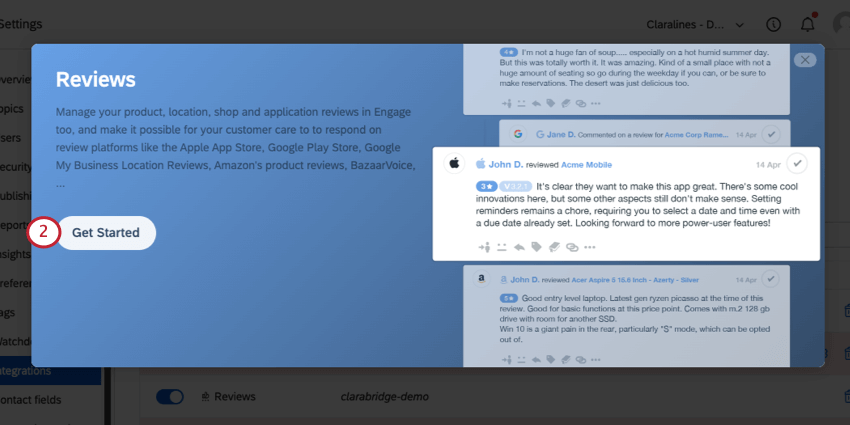
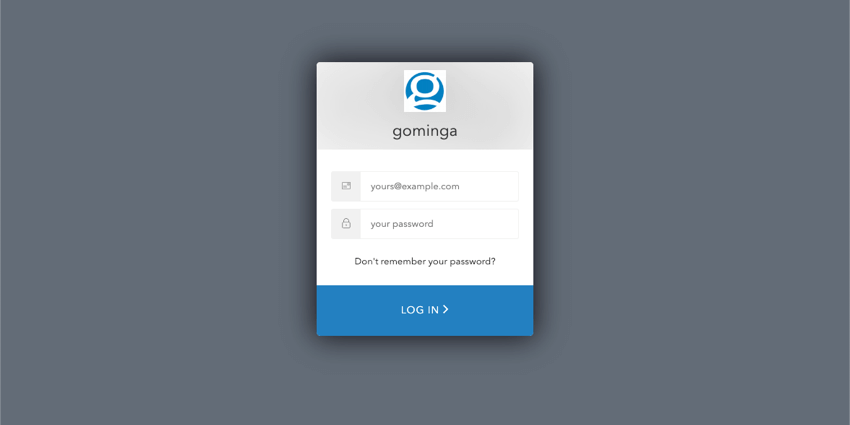
By connecting Social Connect with gominga, your team can respond to many different review platforms from one place, including the Apple App Store, Google Play Store, Google Reviews, Amazon, BazaarVoice, and more.
Configure Email Domain
You can add DKIM and DMARC records to your Social Connect emails to improve their deliverability and to stop them from being marked as phishing or spam.
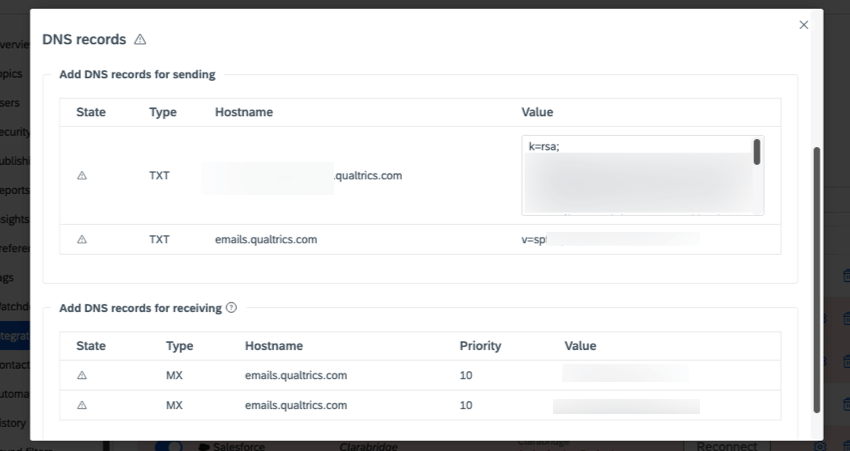
Your organization’s IT team is responsible for configuring these records, and how they implement them will vary based on your organization. Once in your organization’s mail settings, IT experts (often called “domain administrators”) should look for keywords like “DNS” or “domains.” They then will see the option to create records that are “MX” or “TXT” type.
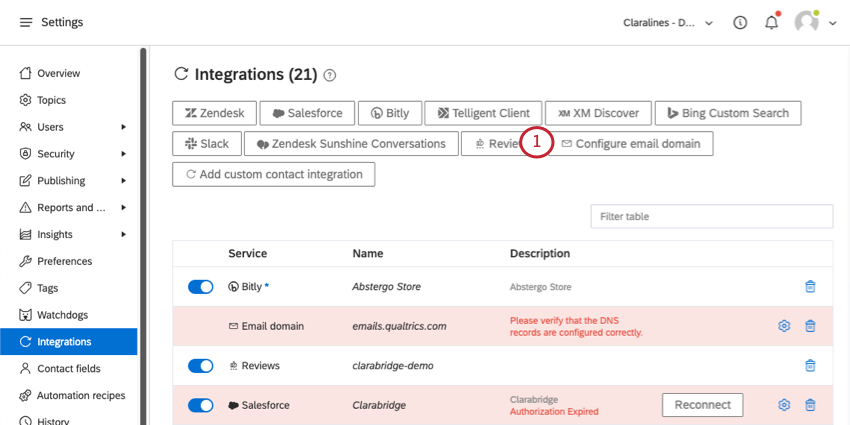
- Select Configure email domain.
- Add the Domain name you want to use on Social Connect emails.
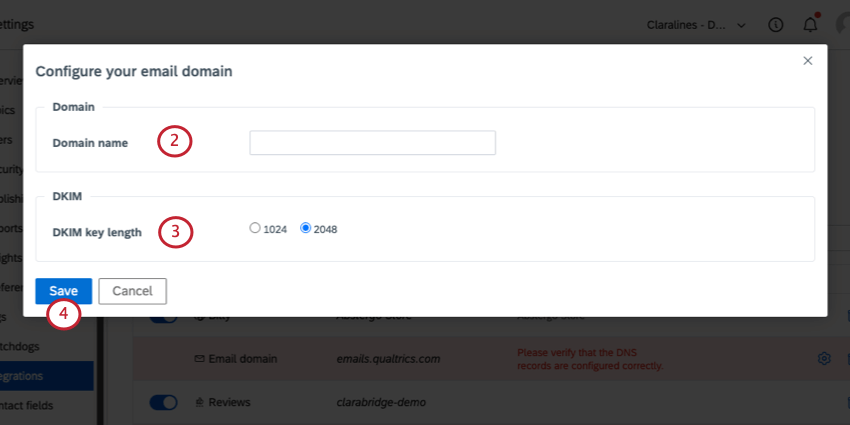
- Select a DKIM key length, which determines how long the key is. You can choose 1024 or 2048 bits.
- Click Save.
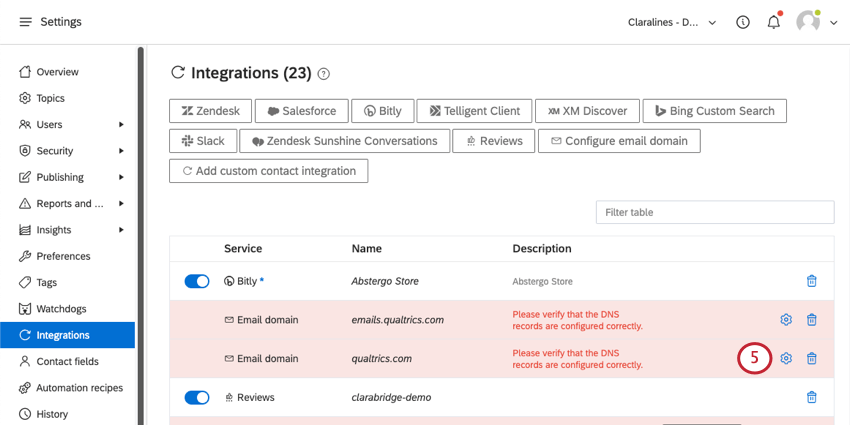
- Click the gear next to your newly created domain.
- You will now have information available on your keys.
Custom Contact Integration
The custom contacts integration lets you search a page for information on specific contact profiles and bring it to Social Connect.
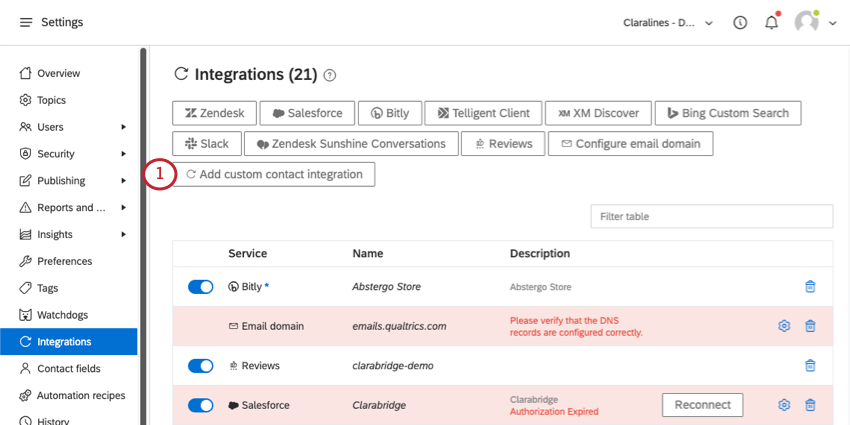
- Select Add custom contact integration.
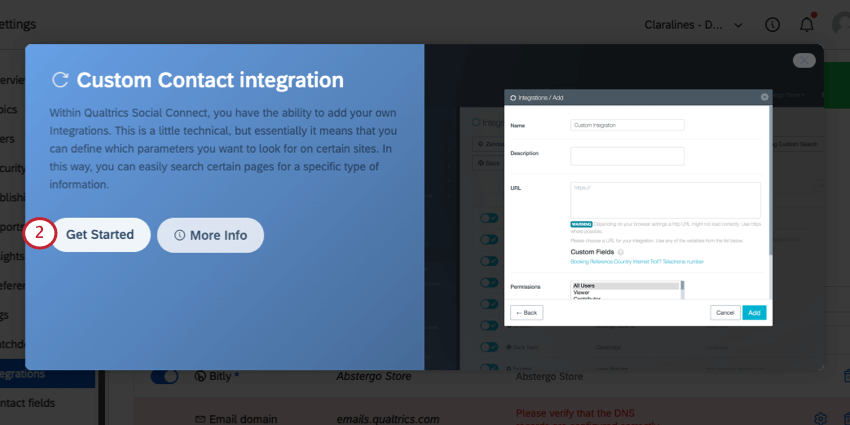
- Click Get Started.
- Name your custom integration.
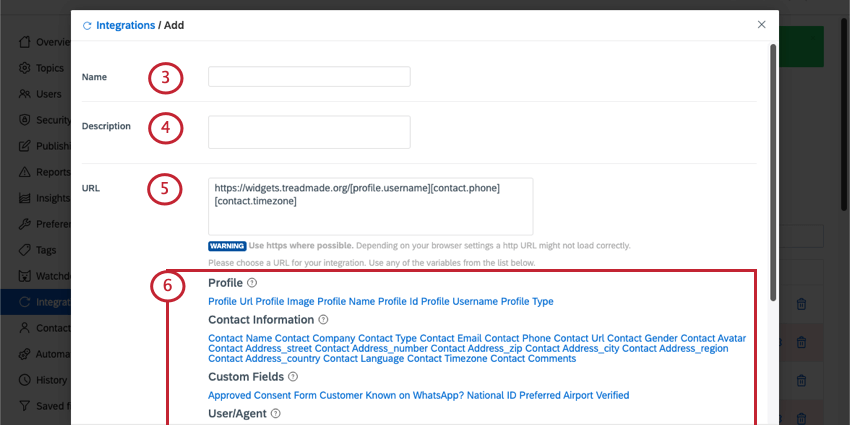
- Add a description (optional).
- Add the full URL for your integration.
Attention: Use https:// wherever possible.
- Select from the following list of information to pull. These fields will be attached to your URL, and include:
- Profile: Social profile information.
- Contact Information: Information you have added to this contact.
- Custom Fields: Custom contact fields.
- User/Agent: Information on the current user or agent calling the integration URL.
- Select the user roles who are allowed to use this integration.
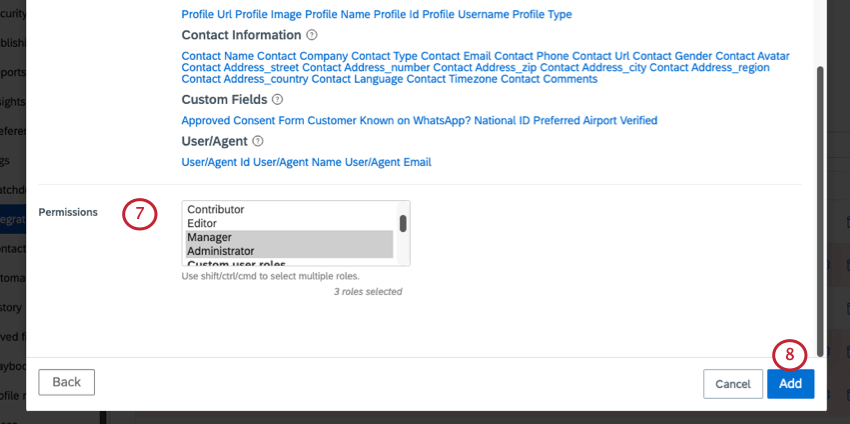 Qtip: You can select multiple roles in a row if you press Shift, Control, or Command while making a selection.
 - Click Add.
Managing Integrations
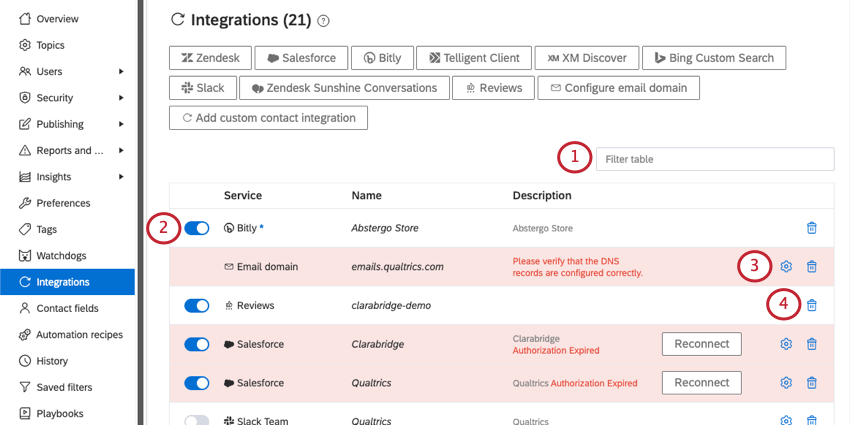
Once you’ve connected Social Connect to another service, those connections will appear on the Integrations page. Here, you can edit, enable, disable, or delete these connections at any time.
- Search connections by name, service, or description.
- You can enable or disable a connection. This is a quick way to turn functionality off without deleting a connection permanently.
- Click the gear to edit the connection.
- Use the trash icon to delete a connection permanently.
